Picture this: You’re out with your family for a day at Fiesta Texas. You’ve had your fill of rides and you’re looking forward to the barbecue tonight. As you gather up the troops to head home, the consensus is “Just one more ride.”
Well, that would give me a chance to get everything ready before everyone gets here, you think. So you leave the kids with Grandma and head home on your own. When you arrive, you find that mountain of dishes waiting for you and figure you better get those done first. You turn on the faucet, but the water seems to have unusually low pressure. You Google your problem and learn that your aerator is clogged. Now, at this point, you’re saying to yourself, “What’s an aerator?”
Guess what? You’re not alone! But luckily, even if you’re not an expert in kitchen faucet repair, this common household problem can be easily solved in minutes. Here’s what you need to know!
What is an aerator?
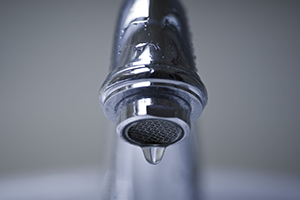
An aerator is a mesh screen that is attached to the tip of your faucet. It can easily be unscrewed from the faucet head.
What does an aerator do?
The aerator helps conserve water and filter out debris, but it also performs a number of other tasks. It muffles faucet noise, prevents splashing, and helps create a more consistent flow of water by shaping the stream and increasing the perceived water pressure.
How do you maintain an aerator?
- You’ll need to unscrew it from the faucet head. This might require some pliers. (Hint: Put masking tape around the head to avoid scratches). Turn it clockwise to loosen.
- Once it’s detached from the faucet head, you’ll notice a screen attached to the outer housing. On top of that are two circular pieces called a bushing and a mixer (the mixer looks similar to a bottle cap). There’s also a disc-shaped piece called a flow restrictor and a rubber washer.
- If an aerator is clogged, rinsing it out will often get rid of debris obstructing the flow of water. If that doesn’t work, soak the parts in vinegar for 30 minutes and gently scrub them with a toothbrush. If it’s corroded or worn, you’ll need to replace it.
- Once the problem is fixed, reassemble the parts in reverse order and reattach it to the faucet head. Twist in a counterclockwise direction.
For a visual representation of this process, check out the video below. These tips and tricks should help with most problems you will have with your aerator. However, if there are bigger issues that you can’t fix on your own, consult a San Antonio plumber or kitchen faucet repair expert.

